My lovely Blogger followers!

Showing posts with label Greeting Farm. Show all posts

Sunday, 11 November 2012

Happy Birthday, Elaine!

Hello everyone!  I made this card for my dear friend and owner of Quixotic Paperie, Elaine - it was her birthday last Sunday so she will have already seen this!  And what better way to celebrate than to show off some more gorgeous Quixotic Paperie goodies!  I've been playing with my new Big Anyas again and here is the birthday card using The Greeting Farm - Anya Lifts...


I love her outfit - I wish I had a pair of sexy boots like that!  I stamped her out on my fave Make It Colour Blending Card.  I also used papers from the My Mind's Eye Lime Twist Out of the Blue pad and more My Favorite Things Die-Namics...


That's it from me today - enjoy the rest of your weekend and thanks for visiting!


*** Latest Arrivals ***
 

Saturday, 27 October 2012

Everyday is a sweet treat with you!

Happy Saturday everyone!  Well I am now back from sunny Florida and what a great time we had.  The weather was perfect - hot but not too hot at 85-87 degs (that's 29-30 deg celsius to us Brits!) with a packed out itinerary including visiting the theme parks, jet skiing, swimming with dolphins and whizzing around in speed boats.  Then back home yesterday - wet, cold, grey - bleh!  But how brilliant to be back with our dogs who I missed a lot!  And of course I missed the crafting too and my crafty mates!  I'll be around later on my blog rounds to see you all once I've done all the clothes washing!

Anyhoo, I'm here today to show off some more gorgeous Quixotic Inspirations goodies!  I'm still loving my new Big Anyas so here's my DT card using The Greeting Farm - Anya Treats...


I matched her up with papers from the My Mind's Eye Miss Caroline Howdy Doody pad and embellished it using My Favorite Things Die-Namics Medium Leafy Flourish die and Rolled Mum flower die.

Okay, I gotta go now - see you later on my blog rounds!

Saturday, 6 October 2012

Sending you happy blessings!

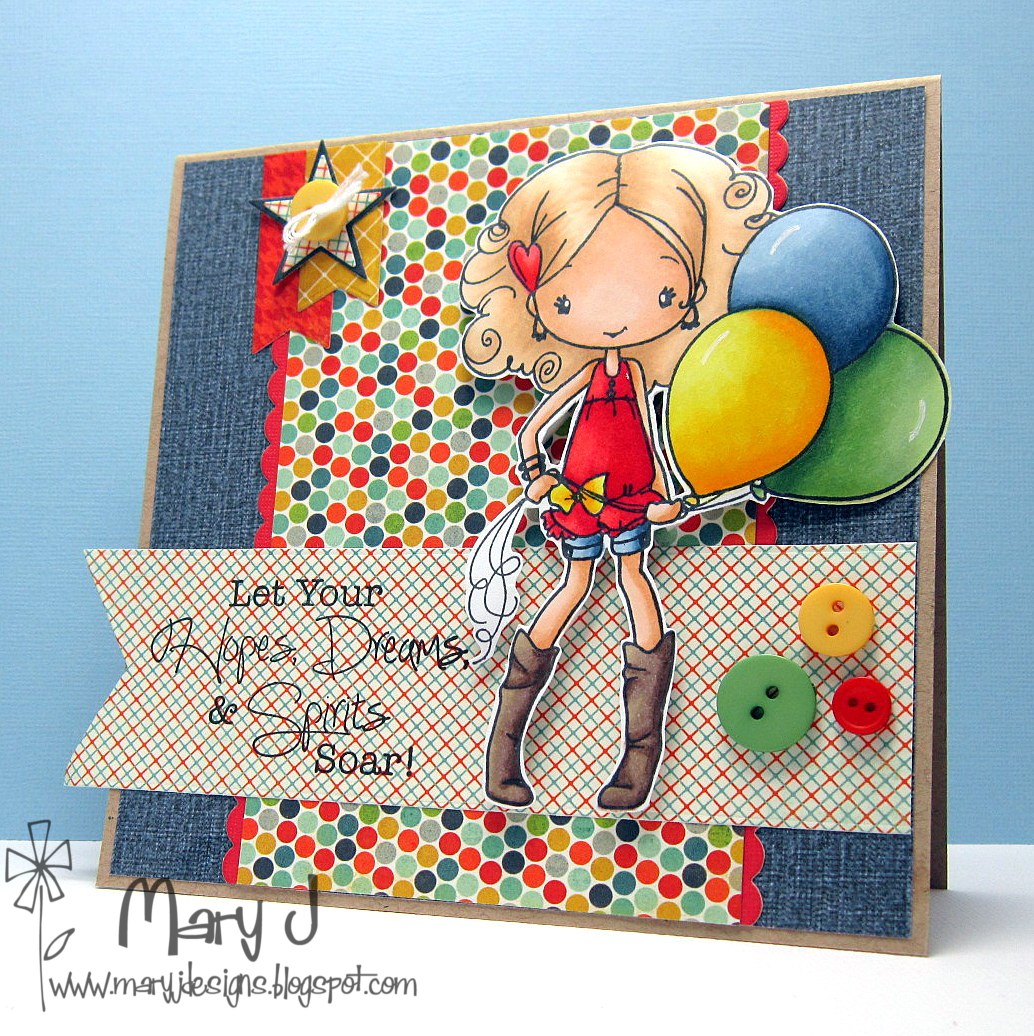
Happy Saturday everyone!  Mary J here to show off some more gorgeous Quixotic Paperie goodies!  I've been dying to get my hands on the new Big Anyas so as soon as mine arrived in the post, I made this birthday card using The Greeting Farm - Anya Celebrates...


She is so beautiful and I luuuurve her shoes!  I used papers from the My Mind's Eye Nostalgia pad lots more My Favorite Things DieNamics...


I hope you like my card as much I do - this is going to go to a very special friend!  Have a fab weekend and thanks for visiting!


I am entering my card into the following challenges:

Saturday, 19 May 2012

Hats off to you!

I'm here today with a make using some more gorgeous Quixotic Paperie goodies!  Here is my card using one of the The Greeting Farms gals from the Miss Anya Hats Off set...


I coloured on her my fave Copics paper, Make It Colour Blending Card and I matched her up with My Minds Eye On the Bright Side One pad that I lightly distressed and inked the edges with Distress Stains.


I hope you like!  And before you go, don't forget to check out this post to see if you're the the random winner of a £15 voucher to use at Quixotic Paperie or one of our showcased winners!

Okay, that is it from me today - see you soon!

I am entering this card into the following challenges:
  

Tuesday, 1 May 2012

New monthly Cupcake Craftroom challenge!

I hope you all have your fingers crossed for me today - it's the first day of my new job!!  I'm a little nervous (although it's in the same firm!) but after 6 years of working on my own I am looking forward to be back in a team!

Anyway, it's time for a new Cupcake Craftroom challenge and this month we have a photo for you!  This month the DT used the new Cupcake Cards and Crafts Last Summer collection and here's my make...


I love these fresh fun papers and I matched them up with The Greeting Farm Cheeky Beach - a perfect match!  And goodness knows we need something to cheer up our miserable UK Spring!  I hope you can join us this month - we'd love to see your summery makes to brighten up our day!  Check out the rest of the gorgeous DT inspiration at the challenge blog here!

See you later for my posts on Tiffany Doodles May release and the second day of the All That Scraps May release preview!


I am entering my card into the following challenges:


Tuesday, 22 November 2011

Josh vs Oliver challenge over at Sparkles Creations Rubber Stamps!

Hi everyone!  You still have another week to join in with the current fortnightly Sparkle Creations Rubber Stamps challenge - Team Oliver vs Team Josh!  With Breaking Dawn coming out in theaters this Friday, we thought we'd do our own spin on "Team Edward" vs. "Team Jacob"! If you aren't familiar with this, no worries -- please just use either an Oliver or a Josh image on your card or project!

Our challenge is open to all players. Each week a random winner will be chosen, and this week's winner will receive your choice of either Football Josh or Backpack Oliver. In order to qualify for a prize, you must use a Sparkle Creations image on your creation. Most importantly, have fun! We can't wait to see your creations!


I'm firmly sitting in Team Josh so here is my make using Turntable Josh...


He is so super cool!  I matched him up with papers from the Cosmo Cricket Social Club pad and the sentiment is from The Greeting Farm.

Are you ready to play along? Get all the deets and more inspiration here!


I am entering this card into the following challenges:

Tuesday, 25 October 2011

More sweetness from the By LoRi Designs' October release!

Here is another make by me using another newbie from the By LoRi Designs release for October...


This cutie pie is Lollipop Bella and you can buy her here along with the rest of the new release!  I matched her up with My Minds Eye Everyday Flair papers (from Quixotic Paperie here)
Wanna see more?  You can see other DT inspiration here
!


I am entering this card into the following challenges:

Thursday, 22 September 2011

{Giggles}

It's Thursday so my day with a card using some faves from the Quixotic Inspiration store! 


This is one of The Greeting Farm's Miss Anya Hats Off - isn't she beautiful?  I really do think she's having a secret giggle about something, don't you?!  I used Bazzill Basics Smoothie kraft cardstock for the card base and matched her up with papers from the Cosmo Cricket Social Club paper pad.

For the embellishing, I created the shabby chic flowers with the Marianne D Creatables Chinese Rose dies with 6mm beads for the centres.  The leaf is from the Make It Crafty Butterfly Leaves lasercut dies set that I stained with Distress Stain in Forest Moss.   I used Distress Stain in Antique Linen around the edges of EVERYTHING except that cute little lady!


I'm really pleased with the way she came out!  Other faves on my shopping list are:


Latest Additions at www.quixoticpaperie.co.uk


I am entering my card into the following challenges:


    Thursday, 19 May 2011

    Improving the photo quality of my cards part 2 - taking the photograph

    It's Thursday so it's my day to share with you some of the goodies I've used over at Quixotic Paperie!  It is also the follow up from my post yesterday with tips on how I improve my photographs for posting.

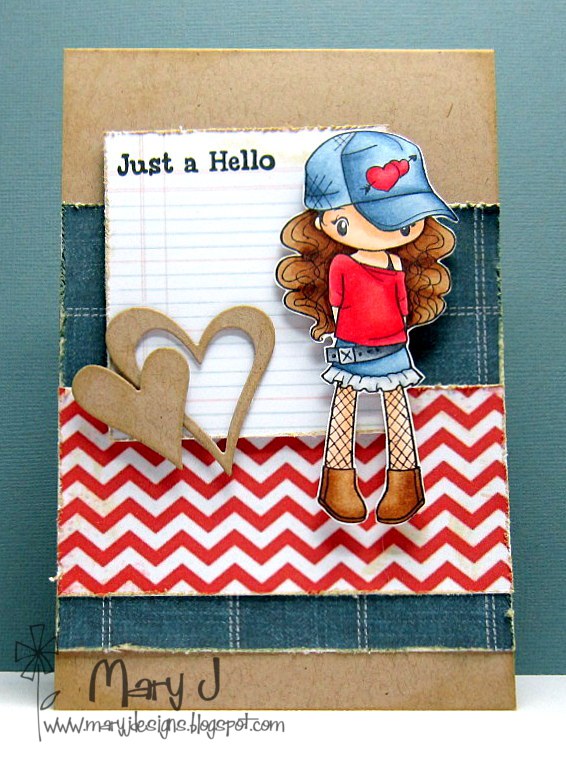
    But first, here are two teenage girl birthday cards I made using the Creeper Crew set by The Greeting Farm...


    I used Bazzill Kraft cardstock for the card base, the BasicGrey Curio paper pad and the sentiments are from the Whimsy Party Mini Letter Seals.  I used my Sew Easy Tool for quick hole making for the stitching - love this tool!  I inked the edges with my Ranger Archival Inkpad in jet black.

    And now on to how I use my light box. Yesterday I shared with you how I use the Picasa 3 software (my post here) and today I'm going to tell you about how I take my photographs using a light box.  So these following pictures show you the difference between using a light box (first photo) and simply photographing on the sidetable in my dining room (second photo) and I haven't used any software on them at this stage...


    Both pictures were taken at night.  The first photo that uses the light box is truer to colour in real life and the lighting is more even.  The second photo is far more yellow (because of the light bulbs of course) and you can see the shadowing on the wall.

    As I'm not a good photographer (believe me, I'm rubbish!) I'm reluctant to spend money on expensive equipment.  Originally I was going to make my own light box using this tutorial here by Digital Photography School, but I came across a very cheap light box by Maplin that costs £14.99 that you can find here.  In addition to my light box, I bought a couple of work lamps and I buy the daylight bulbs from the internet as I can't find them in the shops.

    Maplins now sell a studio kit for £39.99 which is basically the light box plus two table lights and a camera stand - you can find it here.  Maplins is a UK site - I'm not aware if they sell internationally, sorry!  I would have bought the studio kit if they sold it at the time but, hey ho, we move on and here is my set up in my craft room...


    Please excuse the mess.  If you look closely, you can see some of the gorgeous cards on the windowsill some of my wonderful blogging mates have sent me - they give me nice warm feelings!  Anyway, back to photographs!  Here are the pictures after they have both been improved using Picasa 3 software....


    I think it now comes down to personal preference.  I still prefer the first photo that uses the light box as I think it looks more professional, but which one do you prefer?

    So that is how I photograph my cards for my posts - thanks for bearing with me to explain it all! I hope you found that useful.  If you have any specific questions leave a comment and I'll get back to you!  See you for now!


    For my cards I followed this month's sketch over at A Sketch For You To Try. and I am also entering these cards into the following challenges:


    Paper/cardstock: Bazzill cardstock, BasicGrey Curio paper pad
    Stamps: The Greeting Farm Creeper Crew set, Whimsy Party Mini Letter Seals
    Mediums: Copics
    Accents: thread
    Tools: Tim Holtz distressing tool, Nestabilities circle dies
    Sew Easy Tool
     

    Sunday, 17 April 2011

    A reason to smile

    Hello all!  Are you having a great weekend?  It's very cloudy in the UK so decided to do some [bloomin'] gardening (can you tell how much I love it?!) instead of going down to the coast.  I managed to sneak in some crafting time and made this card...


    My Ladybug Crafts Ink DT pal Gaelle and I recently did a swap of stash and she sent me this wonderful Lil Lolita Lilith by Tickled Pink.  I matched her up with this sentiment from a set by The Greeting Farm Roll Call kit.  I think they are the perfect match - I just love her po-face!  This is going to go to one of my friends who can crack a joke and look miserable at the same time!  (She described it herself like that to me, I would never be so rude!!)

    I used the wonderful My Minds Eye Stella & Rose Gertie papers - I'm running desperately low on this pad now but must be strong and not buy another one!!

    I'd like to enter this card into the Stampavie and More challenge to use black and Copic Creations challenge to use your favourite paper for Copic  colouring (mine is Neenah Classic!).


    Enjoy the rest of your day and see you tomorrow with a very special announcement I have to make!!


    Paper/cardstock: Bazzill kraft cardstock, My Minds Eye Stella & Rose Gertie papers (got mine from Quixotic Paperie here)
    Stamps: Lil Lolita Lilith by Tickled Pink (you can buy her from Bunny Zoe's Crafts here), sentiment from The Greeting Farm Roll Call kit (Quixotic Paperie sells here)
    Mediums: Copics
    Accents: Stampin Up ribbon, 4mm pearl gems (from Quixotic Paperie here)
    Tools: Nestabilities label die inside card

    Thursday, 7 April 2011

    You're my kinda cool

    It's Thursday which means it's time to showcase the gorgeous goodies over at Quixotic Paperie!  Today, my card uses this cutie from the Creepers Crew collection 1 stamp set....


    He IS my kinda cool!!  I used Bazzill Basic kraft cardstock for the base and the BasicGrey Marjolaine paper pack and distressed them further by using the new Tim Holtz Distress Stain in Weathered Wood and my Ranger Archival ink in jet black.  I added silver flat backed metallic pearls - I think they saved the card from being too dull!

    I am entering my card into Make It Monday where you can just share your creativity and Papertake Weekly for anything goes.

    That's it from me today - see you later with my By LoRi Designs DT card!

    Tuesday, 5 April 2011

    Tons of texture challenge over at A Spoonful of Sugar

    (Please scroll down for my Totally Ladybug Tuesday DT post)

    This week's challenge over at A Spoonful of Sugar is tons of texture - I loved this one!!  You need to use at least two different types of texture on your creation and this is what I came up with...


    I couldn't tell you where I bought my texture from - it's all recycled stuff that I found rooting around!  But as you can see, there's some sort of hessian for the background and the raffia (probably from a bouquet of flowers) wrapped around the matting.

    This was so fun to make - I hope you get a chance to play too!  The other DT cards are at their best so get your shot of inspiration here!


    Paper/cardstock: Bazzill cardstock, BasicGrey Granola papers
    Stamps: TGF Creeper Crew collection 1
    Mediums: Copics, Distress Ink in Antique Linen 
    Accents: raffia and hessian
    Tools: Nestabilities star dies, Tim Holtz distressing tool 

    Thursday, 24 March 2011

    Miss you...

    Hello everyone and I hope you are all having a great week!  Today is my day at Quixotic Inspirations and I want to share with you some goodies I used from Quixotic Paperie to make this sassy yet cute card!


    Don't you just luuurve her?!  She is one of three from The Greeting Farm Miss Anya Hats Off set and I matched her up with the red teeny, tiny dots and ledger papers from the My Minds Eye Stella & Rose Gertie paper pack.  I then used my trusty Viva Decor Gloss Gel pen in opaque white to create those little pearls - I love that I can make the lickle, ickle dots with it!  I used the Ranger Archival Ink in Sepia to age it a little and finished it off with a sentiment from CC Designs Summer sentiment set.  She does look a little wistful, don't you think?

    That's it from me today - thanks for stopping by!


    I am entering this card into the Lawnscaping Challenge for colour splash (neutral with one other colour - red!).

    Thursday, 24 February 2011

    Hints and tips on using the Sew Easy Tool


    It's Thursday which means here is my creation using all those lovely goodies for Quixotic Inspirations.  Today I am going to give you my hints and tips for getting the most out of the Sew Easy Tool.  There are a few videos out there demonstrating the tool (see the CHA WRMK demo here) but I'm going to give you my experience of it and some practical tips on how to get the most out of it.  I have had my Sew Easy Tool now for a few months and I must say - I love it!  And why is that you ask?


    1. I don't have to get my sewing machine out (which is broken anyway!)
    2. It saves me a lot of time from piercing the holes plus I am not very good at piercing holes in a straight or even line!

    3. Loads of variety - each piercing head (there are 7 and more to come!) has at least 3 different styles of stitching so this takes out the brain work of where to make your holes. Plus it has encouraged me to try new styles rather than do my usual straight lines of back stitching!

    So this is the card I made for my Quixotic Paperie post today where I've used the tool... 


    I have used Miss Anya from The Greeting Farm's I Heart Sweaters stamp set with the ever versatile Memory Box Pixie paper pack.  This reminds me of our Springs in the UK - fresh but it can still be little chilly! 


    So first some basics for getting the most of your Sew Easy Tool...
    • Paper / cardstock.  The guidance states to use "paper or light card". The tool is made of plastic (hence it's great price!) so it will struggle to pierce through thicker cardstock.  However, with practice (and patience!) I have managed to easily use the the tool with Bazzill Basics cardstock by using a firm and steady technique which I describe below. 
    • Piercing mat. Not any mat will do!  You need to have a firm yet soft base like foam for the tool to pierce the holes through easily. If you don't, then the holes won't pierce through or, if the mat is too hard, the paper may also crumple up because it pushes the paper along rather than having the "give" for the tool to be pushed along. The Sew Easy Piercing Mat is obviously ideal but I have also tried it with a soft mouse mat and it worked well with this too.


    Okay, so let's use it!  If you watch the CHA WRMK video you will that the lady does it pretty fast and with a flourish! Well I tried her style when I first got my tool and the paper just crumpled up and no holes were pierced!  I now have two techniques to overcome this.

    1. Keep the edge of the head you are using parallel to the paper with your finger pressing directly down, as shown in the picture below. If it's not parallel, the pressure will not be even and the edge of the head will either crumple or cut the paper (or both!)


    2. If you are using a thicker card, push the tool along steadily and firmly.  Even though I've used the tool several times now, it won't pierce the holes if I go too fast, but it will still make the indentations so you can at least use a pokey tool to pierce the holes.


    3. When pushing the tool down, I find it best to push downwards from the elbow rather than just my finger - I find this doesn't put undue pressure on the paper/cardstock and minimises the paper/cardstock from crumpling/shifting.

    4. Before you start to push the tool along, position the tool where you want to begin, then with your finger on top of the head where the finger guide is, push firmly down into the paper/cardstock so it makes its first pierce.  From then, steadily and firmly push the tool along, keeping it aligned. When the cardstock is thicker, I find that some holes aren't always made - I don't worry about this and keep on until I get to the end.  To finish off, I use my pokey tool to make any missing holes. 


    Then lastly, but not least, I then do my stitching using my needle and floss.  I usually do this while watching something on the TV - I like to multi task!


    Thanks for your patience and I hope you found this useful!  If you have any of your own techniques or useful tips, please share in the comments to this post!


    LinkWithin

    Blog Widget by LinkWithin